My first-ever, completed real quilt!
 |
| My two coworkers include my son who was hiding behind the quilt at left lol. I'm appreciative of working with such helpful people. |
 |
Jason Yentner's booklet, The
Winter Twist Quilt.
|
However, every once and a while a beautiful design comes along that inspires me to try my hand at making a quilt. When I saw the Winter Twist booklet by Jason Yentner at work, I fell in love with
the design. We had the matching fabric collection too! One day a customer purchased the booklet and encouraged me to try my hand at making this quilt. She said, "It's actually very easy." So I read the instructions, and it really was a simple, basic design. The fabric and booklet made it way to the counter for purchase that day and the rest is history.
Honestly? It took a while to cut all the pieces to a specific size and dimension. It's pretty boring. But I stuck to the task at hand and got everything cut. Quilting definitely takes patience, so acceptance was key to spending a few days cutting everything out to exact sizing. Anyone who knows me knows I'm NOT an exacting person. Quilting here and there has made be a better garment sewer because of more attention to detail and the precise nature required for piecing.
 |
Blocks stitched, border added, got the quilt sandwich
assembled, now for pinning!
|
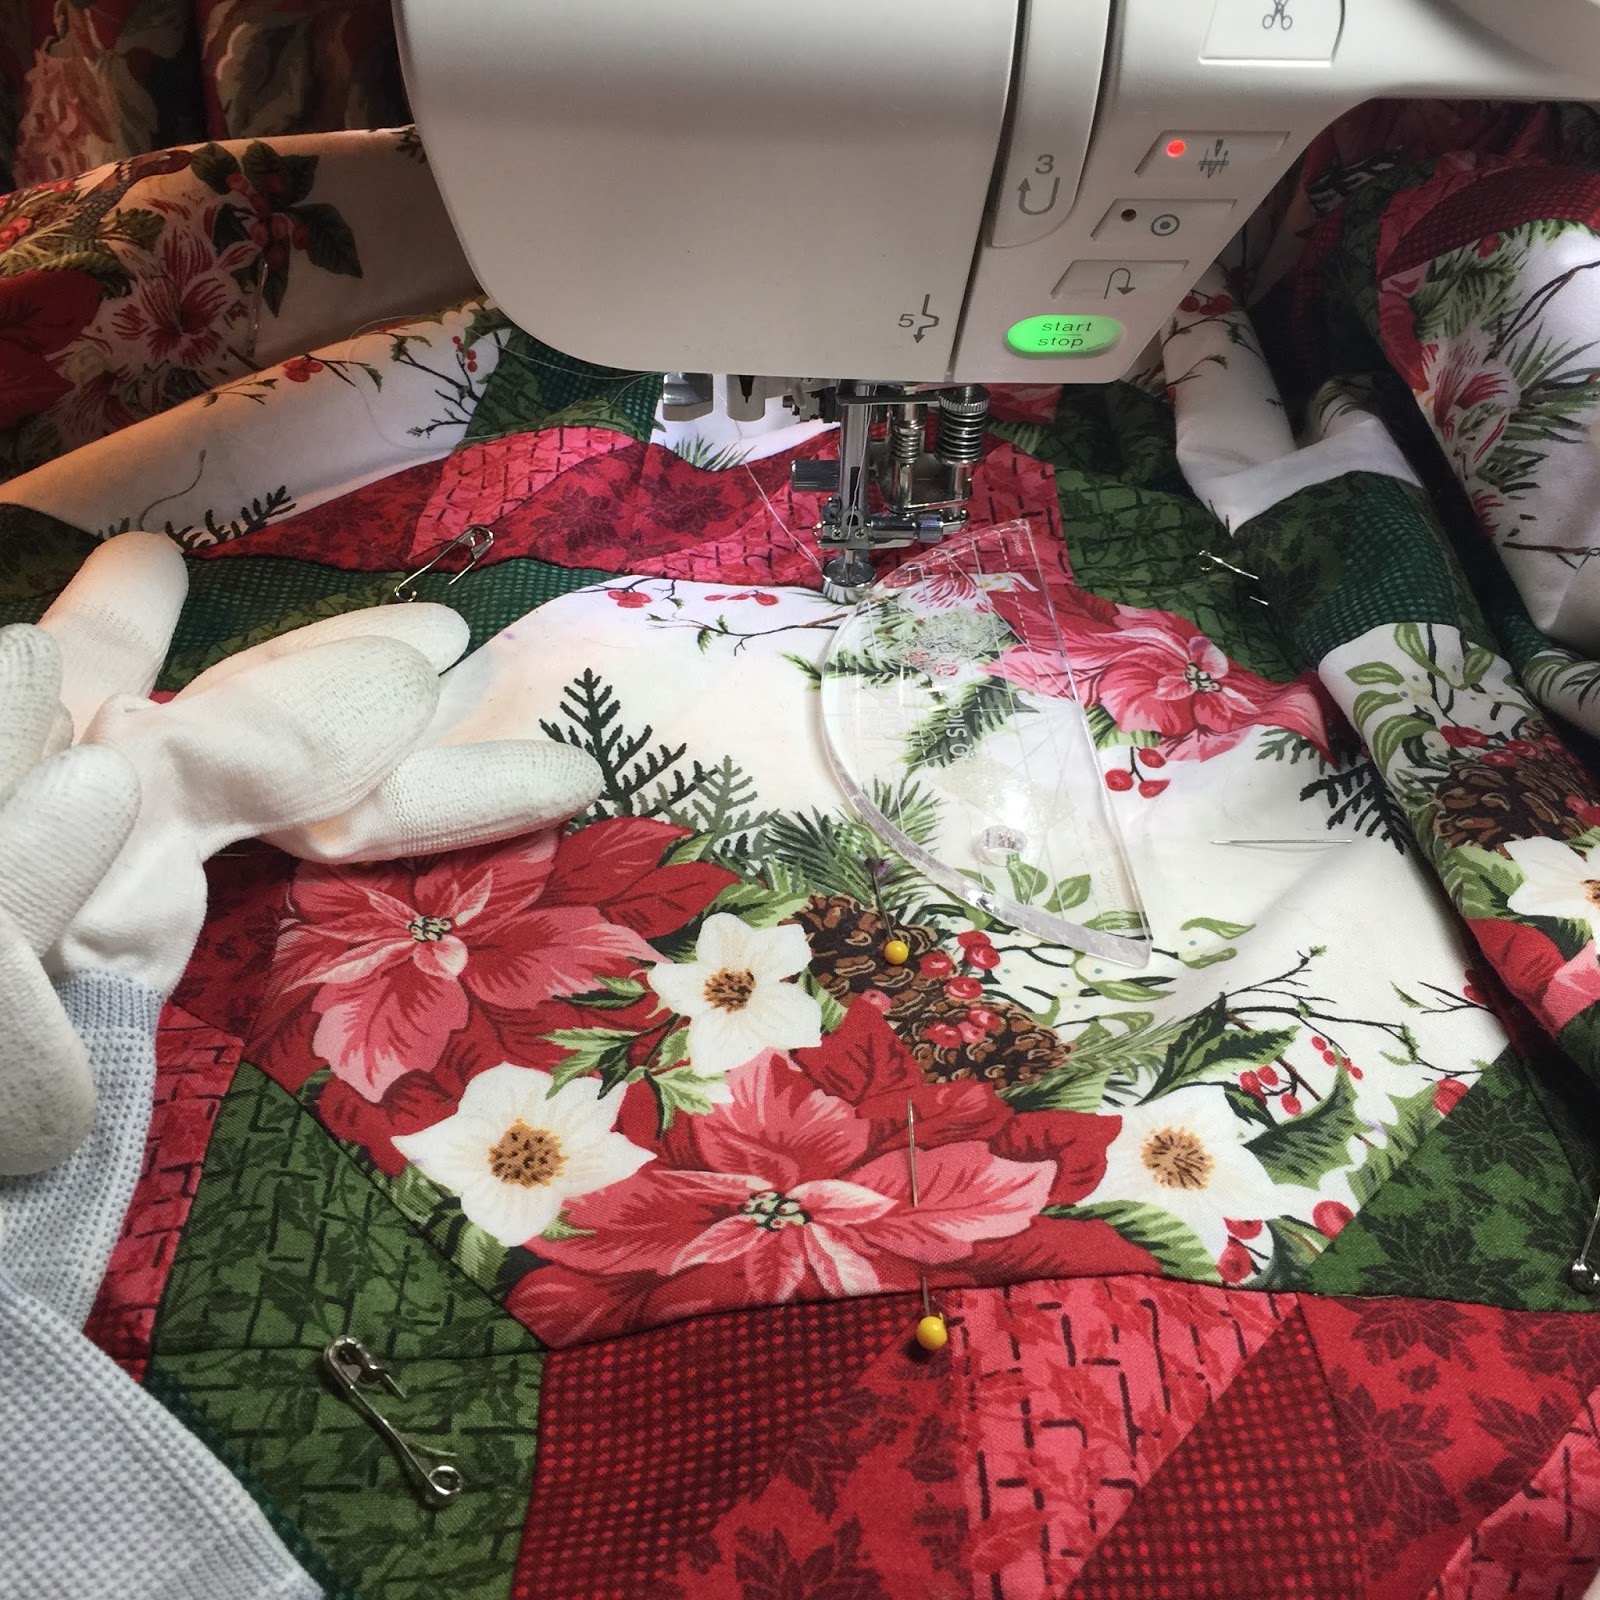 |
Quilting supplies: FMQ gloves, size
14 Topstitch needles, good thread
and rulers with grips
|
Now for the quilting! I was a bit befuddled at which quilting designs I should use. Should I use free motion? Rulers? Rulers won out. The Handiquilter Ruler of the Month program was in full force at work, so I decided to use the rulers and create designs. My coworker helped me choose a basic ruler design for the center blocks, but my designs on the edges and borders were inspired by the Quilting with Rulers class by Amy Johnson over at Craftsy. She is an excellent ruler quilting instructor, and I highly recommend her classes, but my suggestion is to enroll through Amy's website if you're interested because I think the instructors get better financial compensation doing it this way. Most of the more intricate designs were inspired by what I learned in Amy's Craftsy classes.
 |
Here is the simple center block design suggested by my
coworker.
|
 |
I was loving the ruler work, and one simple
slice ruler create this fancy design.
|
 |
Whew! Binding added. Almost
finished.
|
Overall, I'm incredibly pleased with my first, real quilt. By the
 |
And finally? A little crystal bling and my
embroidered snowflakes at the corner cuz I'm not as
proficient at the mitered quilt corners as I'd like to be.
|
Are you a garment sewer who has never tried their hand at quilting? I encourage you to find a beautiful design and try it. The perfectionism of quilting has definitely enhanced my garment sewing for the better!
Until next time, Happy Stitching!
--Kat
No comments:
Post a Comment